Colour blocking is a trend that’s been around for ages and it’s thankfully not going nowhere. It’s such a simple way to add so much style to a look. Especially if you’re more of a minimalist and don’t want busy prints and patterns, a simple colour block dress or skirt is the answer. Just like that blue and white shirt dress that pops so much more than if it was plain blue or plain white. You can create your own look too by pairing two solid colours together. I’m loving the colour block look for mums and babies and definitely will be wearing something similar over the Summer (if it ever comes!).
Who has time to curl their lashes everyday before getting out the door? I know I certainly don’t. I can barely make it to the school gates on time as it is, so adding steps to my beauty routine in the mornings just isn’t an option. I’ve often said I like time-saving make-up and beauty products that still work well and do exactly what they promise. And if I find any goodies, I will share them here.
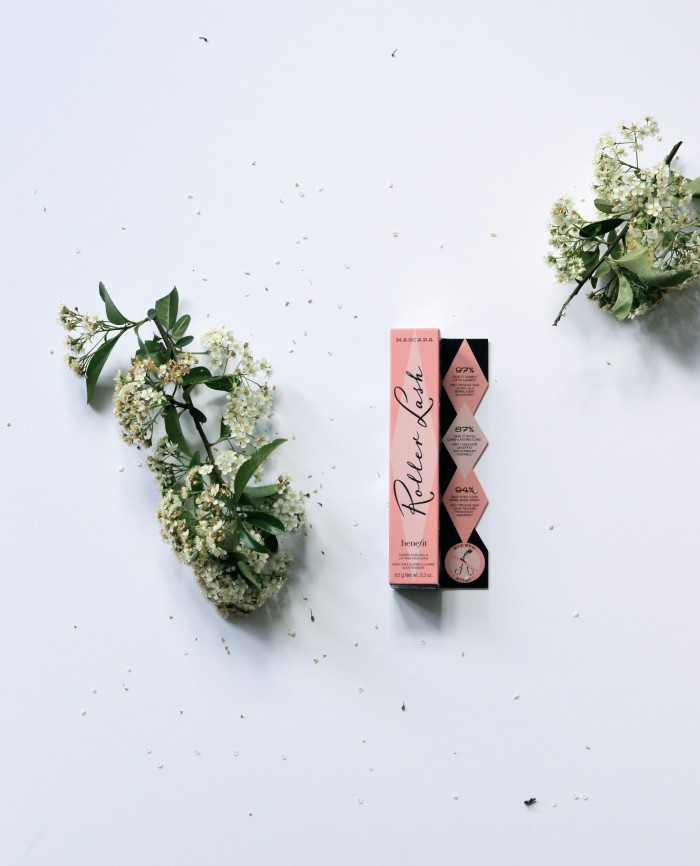
I’ve long been a fan of Benefits ‘they’re real!’ mascara as it is probably the best mascara I’ve used in ages. So last week when mine ran out, I headed back to the Benefit counter to get another one. When I got there something that I hadn’t seen before caught my eye – a new curling mascara. So I asked a few questions and then tried it for myself. The new mascara from Benefit is called roller lash and it’s all about curling and lifting your lashes without needing to use a curler beforehand. I snapped it up and I’m really pleased with it. It definitely curls and lifts and makes your eyes look wider and more open. And it cuts out the need for curling your lashes first so saves time too. In truth, I hardly ever curled my lashes beforehand as I am somehow always doing my make-up in a hurry, no matter what time of day. But I have straight lashes so always had the best intentions of doing a bit of curling. Now I don’t need to and that makes me very happy! I think I may have found the best curling mascara for me.
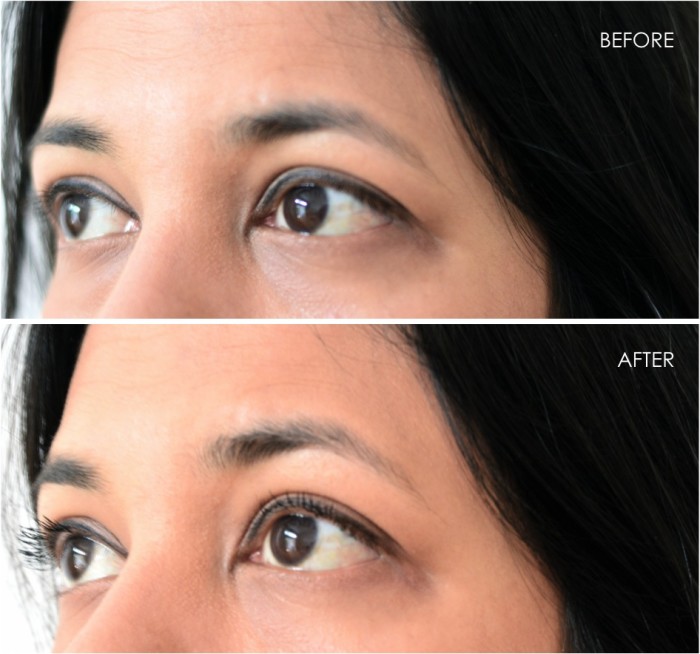
Benefit’s roller lash will probably be even more effective if used with ‘they’re real’ mascara but for me, I’m quite happy to stick to one for the time being. It lengthens a fair amount and curls well so I’m pretty happy with the results. If you look especially on the left eye in the pic above you can see what I mean. I am already a Benefit cosmetics fan as they are one of the brands that I’ve found that really do what their make-up claims to do and also products like this curling mascara that save me time are always welcome in my beauty bag. What’s the best curling mascara you have tried? Any recommendations?
I should add that this isn’t a sponsored post – in fact none of my beauty posts are sponsored. I buy things I like the sound of, I try and if I like them, I share them with you.
If you read my first inspiring stories interview then you’ll know what these interviews are all about. Today it’s time to meet another incredibly inspiring lady who is also a mum. Everybody has setbacks in life – some have bigger setbacks some have smaller – but we all have them. It’s not these setbacks that define us but how we deal with them. So I hope to share stories that will inspire us all and help us to realise that no matter what, we can achieve those dreams and goals. In today’s story, despite numerous delays, setbacks and medical problems, a gorgeous handmade teddy bear brand was created and launched.
Meet Rachel Beasely who is the founder and designer behind Bear Good – a range of traditional teddy bears made in England that are given a contemporary twist. But Bear Good isn’t just about the bears, it’s also about doing good. Read on to find out more about these bears and about Rachel’s story of sheer determination.
Tell us a few words about you? I’m a mum of two – a 3 year old girl and an 11 month old boy – who are both the apples of my eyes! I’m originally from Yorkshire but have been in London for almost 15 years. I used to be in advertising and marketing but then took the leap in to entrepreneurship and tried a few different things. In 2012 I had the idea for Bear Good and the rest is history as they say. A pet hate of mine is noisy eaters – I can’t sit next to them as it drives me nuts! Only adults though, I don’t mind kids eating noisily which is a bit strange!
What has been your biggest struggle so far? Getting my business launched! You have a plan in your head but then things happen that you have no control over. I planned to launch in February 2014 but the products were late so I had to delay. I was also pregnant with my second child and due to deliver very soon. Unfortunately my obstetrician didn’t listen to me about my past medical history and gave me some incorrect advice which resulted in a traumatic birth leaving me with severe back problems. On good days I experienced pain but on bad days I couldn’t even get out of bed. I learned to cope with this as there was no choice.
Things got progressively worse with with my back throughout the Summer of 2014 but I wanted to focus on the positives in my life like becoming a mum for the second time and enjoying my son. I knew I couldn’t give the business all the time it deserved but I tried to look at what I could do. I decided I could slowly build the website myself just to keep things moving and planned a soft launch just before Christmas 2014. However on December 1st my back finally gave way. One minute I was stood up and the next I was on the floor.
The next few weeks are a bit of a haze! On December 19th, the day before my birthday, I was wheeled in to hospital for an injection in my back. A few hours later I was wheeled out the same way as the injection hadn’t worked. I had another in early January which enabled me to shuffle along. But then I had an operation on my back on 16th January and the change was amazing – the following morning I was sat up in a chair having a cup of tea after having been for a short walk!
Where and how did you find the determination to carry on with your plans? Aside from my family, my business was something I could focus on that wasn’t related to my back. And because I had committed to a charity already I didn’t want to let them down. Financially I’d invested a lot too so giving up just wasn’t an option.
A lot of people in your situation would have given up on their dreams. Did you ever feel like giving up? And how did you pull yourself out of those dark moments? Oh yes! I felt like giving up plenty of times! Especially when the pain was unbearable. But I had the love and support of a great family who helped me get through this. My mum practically moved in with us to help keep the house ticking so that my partner didn’t have to worry about the washing and ironing. My partner was my rock. At my lowest points he picked me up and helped me see a future past the pain, past being in bed and running around with the kids again. I had six weeks post-op where I couldn’t pick my baby up and when I did it was wonderful, as was getting my daughter on my knee for a cuddle. I also kept imagining my company being successful and achieving the goals I’d set myself. So I can’t believe it but I launched the website a couple of weeks after the op. Looking back, launching the site then was probably pretty stupid, but I think I just needed to close a chapter and open a new one.
Tell us a bit about Bear Good. What inspired you to make teddy bears? It wasn’t so much about the bears to start with but more the idea of interweaving doing good with a business. We were told that having children would be difficult for us. Following a lot of mountains climbed and hurdles overcome we welcomed our daughter in to the world in 2011. I felt very, very lucky to have been given this gift and I wanted to protect her, nurture her and ultimately give her everything I possibly could. Filled with all the new mum wonderment (and exhaustion!) I started thinking about all the children out there who haven’t got a safe environment to live in, a nurturing loving family, good healthcare and access to quality education. I knew I wanted a shift in direction post-birth, so combining my business and branding background with the urge to do some good at the same time led me to come up with Bear Good. The company has been built on a real commitment to giving, so much so that we give 10% of our sales to the charity and the non-profit we support. This means donating is intrinsically built in to our business model as the charity gets their share come what may, rather than being profit share based.
As creatives we are always looking for new ideas and ways to make them a reality. Tell us how you look for inspiration and how you turn that in to a teddy bear? The teddy bear is the flagship product and my inspiration came from imagery of children carrying a teddy bear. It said to me that there is a whole lot of love from a child to their bear and that’s the kind of love that we want to pass on to the children we are trying to help. I also recognised that to be a bit different we had to look again at design and I opted to go classic where high quality is part and parcel, design is simple and there is somewhat of a legacy created. After all, we are aiming at the gifting market where someone is looking at buying a gift that is incredibly special and meaningful for a special occasion like a birth.
A teddy bear is for life. I wanted to make sure I made bears that would last a lifetime, that a child could have adventures with and it would still be in one piece in years and years to come. Yet I didn’t want them to be old fashioned. So whilst the designs are classic, the fabrics are contemporary like moleskins and corduroy. We wanted to support British manufacturing as much as we could so the fabric has been sourced from a mill in Todmorden, Lancashire. The bear’s t-shirts are all inspired by the American raglan motif t-shirts from the 70’s. Perfect for everyday wear and gifts alike. I love them and would wear them if I could!
I’m really excited to say that every child that has come in to contact with them wants to take them home – the bears have a real personality to them are just waiting for good homes to go to!
What’s the best part of running a small business? As most mums would agree, life with children is busy and non-stop. So the flexibility I have makes life much easier as a family. I also like the fact I can make my own decisions and put my ideas in to action.
The world of soft toys is so incredible these days. There is so much choice out there for any budget and taste. Apart from your own, which soft toy creators do you admire? I adore traditional teddy bears, I love Lucky Boy Sunday softies as the designs are wonderful and I also like Sew Heart Felt puppets. Of course Jellycat has to be in there too – my son and daughter both have different characters whom they love.
What is your best piece of advice for anyone who has suffered big setbacks in life? Don’t beat yourself up if you have to change your plans. If you need time to heal, take it as it will pay back ten-fold in the long run.
Would you change your past if you could? I would have listened to my gut instinct in the hospital as I honestly believe I wouldn’t have been through this if I had. The times when I haven’t listened to my gut instinct are the times when things have gone wrong.
What’s next for you both professionally and personally? Professionally I am aiming to build the Bear Good business quickly to make up for lost time. Personally I am making my back as strong as it can be in the hope that I never have to go under the knife again. On a lighter note I am already planning Christmas 2015 in my head as I missed that, my birthday and the new year last year so I want to make this one really special for my partner and my children.
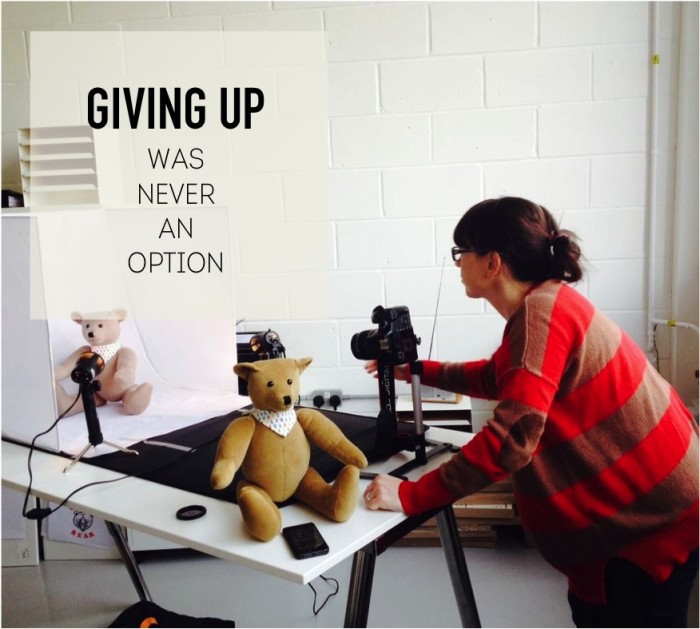
Thank you Rachel for sharing your inspiring story withus. What I loved most about getting to know Rachel was that giving up was never an option for her. In our chats and messages to each other I got a real sense of sheer determination from Rachel. Nothing would stop her achieving her goals and making her dreams a reality. As Rachel explains, apart from family, it was visualising those very goals and ambitions that kept her going through her darkest days. Giving up may seem like the only way in short term and who would blame you if you did under such circumstances but if you slowly chip away at your goals, they can and will become a reality no matter what life throws at you along the way. Do take a look at Rachel’s gorgeous one of a kind teddy bears that would make a lovely gift for a new baby or an older child especially to mark a special occasion.
P.S. If you have a story of overcoming a set-back (of any kind) and would like to share it, please get in touch – I’d love to hear from you (only requirements are that you are a parent with a blog or business but if not a parent you have a baby/kids related business). You can get in touch privately through the contact page or send me a private facebook message and we can chat more to see if it’s something you would like to share.
The other day I was told a story about a three year old girl who was given a book. She opened the book and she tried to press it. She then started sliding her finger to get the pages to move. She continued pressing, sliding, scrolling and got increasingly frustrated when nothing happened. This child had never seen a real book before. Her only experience of books had been electronic. I haven’t made this up even though I wish I had. This was told to me by someone who knew the little girl, while we were discussing technology and kids. And that got me thinking, how much tech is too much but also is there such a thing as too little?
People often ask me if I let Anya use my ipad and other devices and how much I let her use them. The answer is yes, I do let her use the devices but there are rules and restrictions. Since I’m asked a lot I thought I would share some of the things I do to limit her use of iphones and ipads. I do believe that our kids are growing up in an age where technology is everywhere and that they need to be exposed to it as it is so much a part of our lives. And there are a lot of good things about technology so I want it to be a part of her life but not take over and or become her main source of entertainment. So here are a few things I do to limit her ipad time:
1. She has to ask before using the ipad/iphone. She can’t just help herself!
2. We treat the ipad like a treat! So just like any treat, she knows that it’s not something she can have everyday but instead it’s something that can only be used once in a while. But I never use it as a reward.
3. If she asks for it when I don’t think she should have it, I suggest another activity rather than just saying no. So I’ll suggest colouring, dressing up or anything else that she loves doing and this often works because thankfully children forget easily! Or if that fails, I will suggest reading together or something else we can do together.
4. When she does get to use it, I usually limit her time and tell her that upfront. Then when times up, it’s up. Sticking to your resolve really counts here because the inevitable ‘5 more minutes, please, please, please’ will always happen. (Of course , there are times I’ve given in to extra time especially when I’ve got stuff to do myself – naughty mama!).
5. Buy books. Lots of them – story books, activity books, colouring books. And keep books accessible so your kids can reach them easily. I’ve found that a new book for Anya is far more exciting than a new app.
6. There are certain situations where I don’t allow the ipad at all like mealtimes and car journeys because once you allow it, I think it can easily become the norm. So sticking to never is easier for me and for Anya because she doesn’t ever expect it at these times.
7. Obviously don’t buy them their own device because that’s just asking for trouble. This might sound very obvious but I actually know 5, 6, 7 year old kids who have their own ipad and it never fails to shock me no matter how many times I come across a kid with one.
There is one exception I make to all the above and that’s when she wants to listen to music because she loves music. Right now the ipad and iphone are our only sources of music so if she wants to listen to something I never stop her. In fact I encourage it.
We all know kids learn by example so the amount of screen time you have will have an influence. I rarely watch TV but I am guilty of spending too much time on my laptop and this has naturally influenced Anya and her tech consumption. I’m trying to make sure that once she comes home from school I shut off and then do anything pending after she’s gone to bed. There are days when I manage this but there are others where I fail miserably. What can I say – I’m still a work in progress!
Having said all that, there are times when rules go out the window. I’m not perfect at following my rules and especially recently with all our house renovation upheaval she has had more ipad time than I would have normally allowed. But sometimes you just have to do what makes life easier and not feel guilty about it.
What do you do to limit your kids screentime? Any tips for all of us? Or do you prefer your kids never to use ipads and iphones? I’d love to hear in the comments.
P.S. This is a fun book on tech vs. real books to read with kids.
Over the last few months I have really enjoyed sharing some fabulous photography tips and ideas and even more so because so many of you have come out and told me how useful you’ve found it – thank you for that! Today is the last post of this series and I wanted to share my recent experience of attending an inspiring photography workshop and my tips for choosing one for yourself. I knew I wanted to attend a course as I really want to improve my photography skills. Learning to improve your photography skills from written tips and e-courses is possible and can help a lot, but there is no substitute for going to a workshop and being taught in person, especially by photographers you already admire. So if like me you want to take your photography to the next level, then I highly recommend taking a beginners course which will get that expensive camera off auto mode – sound familiar?
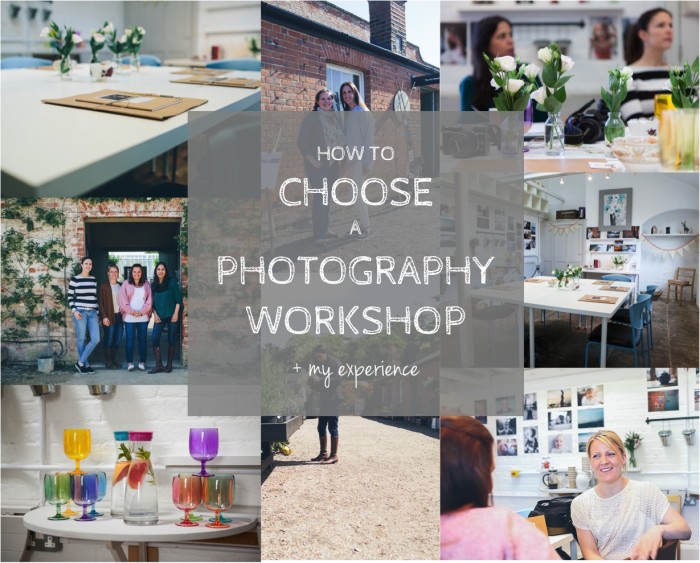
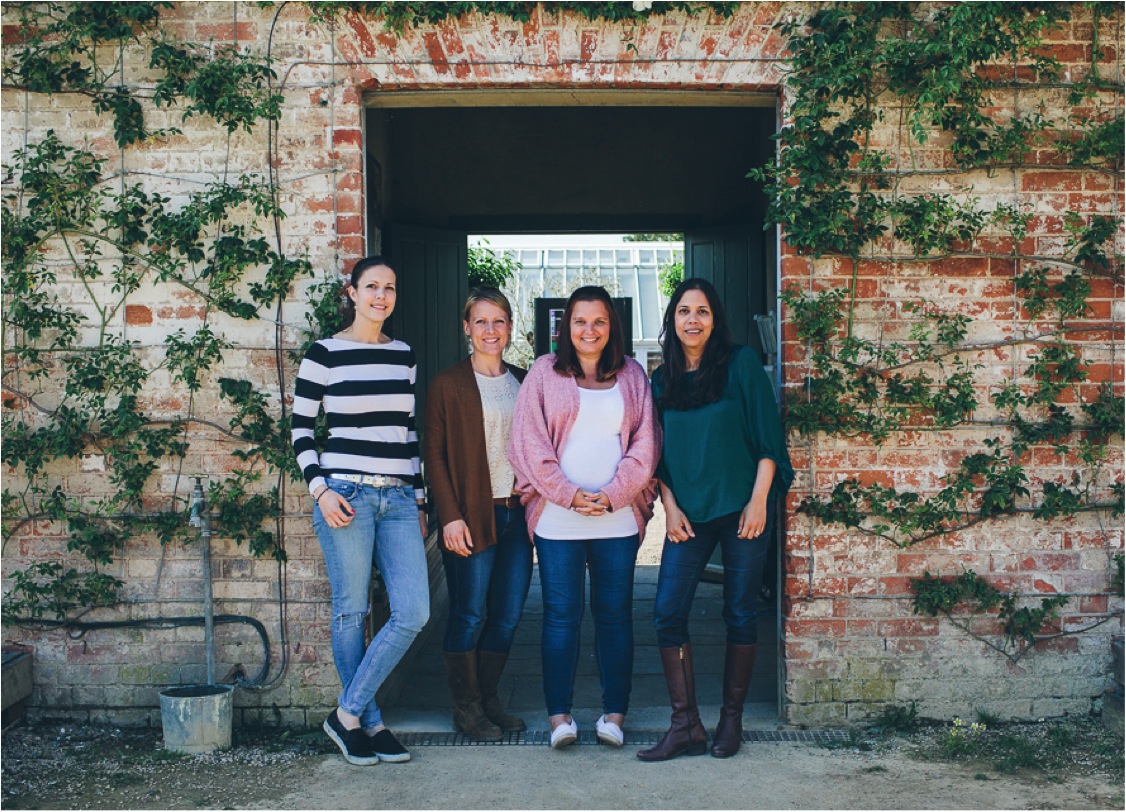
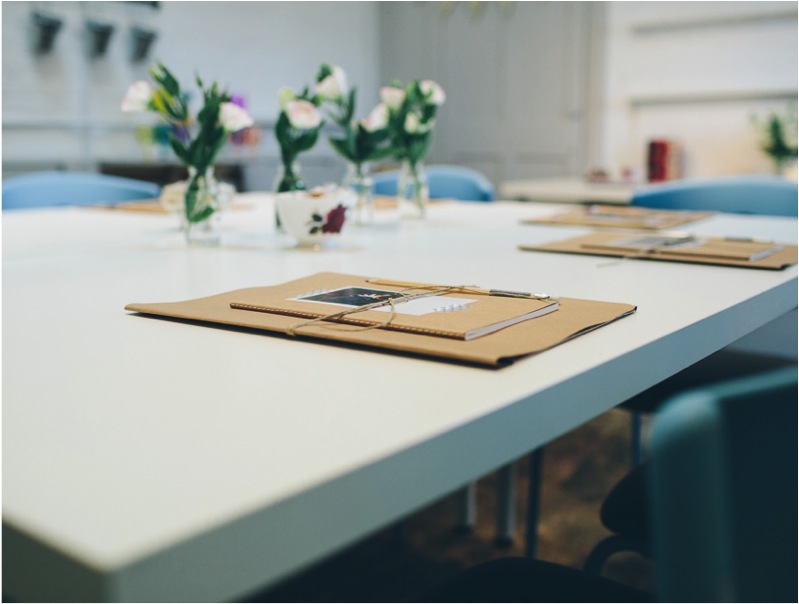
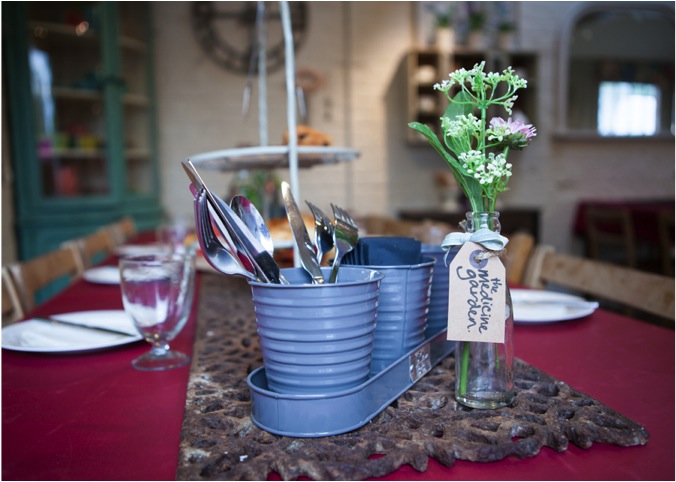
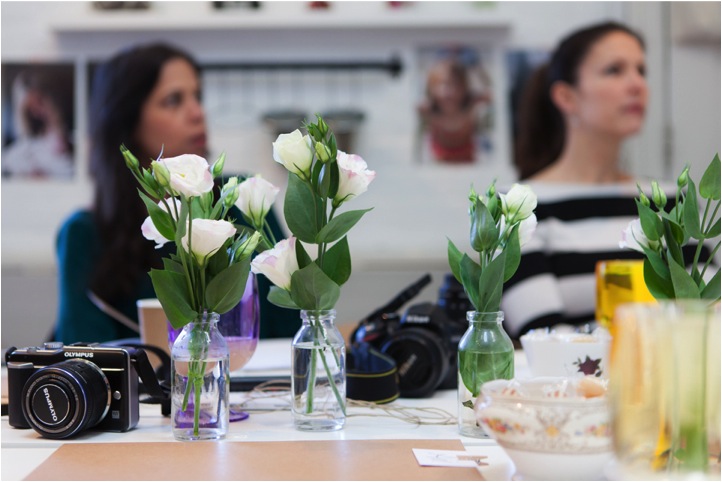
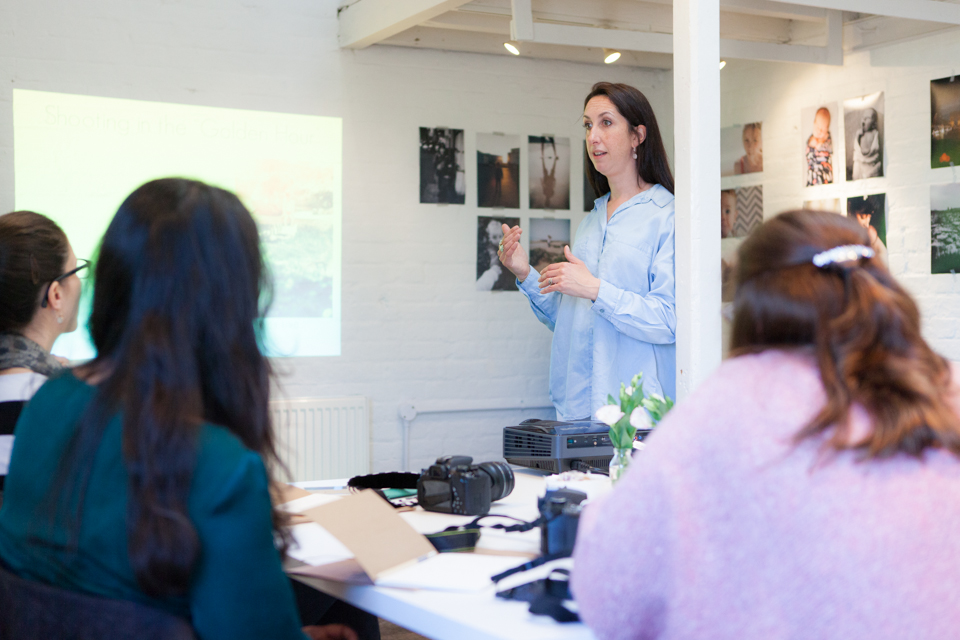
Last weekend I went to A Happy Capture workshop which is taught by Abigail Fahey and Suzi Bowles both of whom are very talented family photographers with very different styles. Both have contributed tips to my photography series so I already knew and loved their work. They’ve recently started workshops held in Cobham, Surrey – a suburb just outside South West London. The workshop was held in a beautiful venue called the Medicine Gardens which is a walled Victorian garden with quaint cafe’s, workshops and art galleries tucked behind the garden walls. It was a full day course and had me engaged from the moment we started till the very end. I’m so glad I chose to go on it and if you’re thinking of a course, I totally recommend it but if you’re not in the area then I have some suggestions on how to find a course that’s right for you.
Photography courses can be expensive and you’re not likely to do more than one or two (unless of course you want to go pro). So it’s worth taking a little time to choose the right one for you and it will really pay off. I’ve done one before A Happy Capture which was completely un-inspiring and I ended up learning nothing. It probably wasn’t a bad course but was not the right fit for me being too techy and focusing too much on technique and numbers rather than creativity. So here are some tips on how to choose a photography workshop to make sure you get the most out of it:
1. It might sound obvious but look at the work of the photographer/s behind the course. Does his/her style inspire you? Do they photograph subjects that are similar to what you want to photograph? Read their website and any information you can find about them to check that they are the right match for you.
2. Most of us here are mums who may also be bloggers so our aim is to improve our everyday photos of our kids, our holidays and our life to keep as memories and perhaps share on our blogs. We don’t want too much technical knowledge or technical speak that will just mean nothing to us. So read the course details to see what’s covered and always check the level of the course – beginner, intermediate or advanced.
3. The venue is almost as important as the teacher as it tells you so much about what the photography workshop is going to be like. And if the workshop is held in an inspiring place it will help you get your creative juices flowing too. The first course I did was held in a small dark room with bare walls and one small window where everyone sat facing one of those bare walls! As you can imagine it did nothing to inspire me at all. But A Happy Capture was held in a beautiful room contained within a stunning walled Victorian Garden – this venue had me excited from the moment I got there.
4. Think about what you want to get out of the course and write down questions before you go otherwise you are likely to forget. If you’re an absolute beginner and don’t know what exactly you want, write a basic list and take along pictures that inspire you. Also carry photos you’ve clicked that you want to improve on. I loved that Suzi and Abigail asked us each to send them one or two photos we’re proud of before the workshop – this really made me think about what I like about my photography and what I don’t and helped me think about my questions.
5. Find out what happens after the workshop. With A Happy Capture Suzi and Abigail have set up a facebook group for past students to interact with each other and help each other and Suzi and Abigail pop in too and answer questions and critique your photos. I’ve already been taking part in the group and been learning even more.
6. Preferably always go by a recommendation rather than just picking a course off the internet. By recommendation I mean a like-minded friends suggestion but also your own experience of a photographer. Perhaps you have had photos taken by a pro you really admire and they do courses or you have just admired somebody’s work from afar, maybe on instagram. I have known and admired Abigail’s work for a long time and recently discovered Suzi’s both of which I like a lot. So when they recently launched their courses, I knew I had found the course for me and I wasn’t wrong.
So that’s what I would suggest on how to choose a photography workshop. Don’t make my initial mistake and attend a photography course that isn’t suited to you. I have seen the difference of what the right workshop can do for you. One of the things I wanted to get better at was taking dark and moody shots especially of Anya. I wanted to capture her face, her personality and her expressions in a natural, un-posed way but with a strong element of moodiness in the pictures. Above are a few shots I took after attending the workshop and while they’re not perfect I can honestly say they are far better than anything I have taken before (compare these to the one I shared on this post which was taken before the workshop when trying to do something similar). So a little research beforehand can really go a long way in finding the right workshop for you.
If you’re interested in learning more about A Happy Capture workshops, visit the website and feel free to get in touch with Abigail or Suzi – they’re both really helpful and very approachable. And if you haven’t already guessed, I couldn’t recommend them more. I learned so much in such a friendly, relaxed and creative environment which has given me the skills to experiment far more with my DSLR.
A very big thank you to all the talented photographers who contributed to my photography series and gave us such useful photography tips – Julia, Abigail, Lucy and Suzi. Gosh imagine getting all four of them in a room and learning from them?! Shame that can’t happen but the good news is that you can get two!
Over the last several weeks, I’ve shared lots and lots of tips on taking better photos on iphones and DSLR’s. I’ve also shared tips on editing and organising your digital photos. But perhaps the most important thing is what we do with all those thousands of photos. Ultimately we all want to take photo’s for one reason and one reason only – to capture and immortalise those fleeting moments of our lives. Those moments that mean so much to us. Big life moments like the birth of a child or a wedding somehow always manage to get captured and usually put in to albums. But it’s the hundreds of everyday photo’s and everyday memories that often get left sitting on a hard drive somewhere. And those are the very moments that make up our lives.
When Anya was born I decided I would make a photo book or album to document each year of her life. One book, once a year – how hard can that be? I did it for the first two years and then just gave up for lack of time and even laziness. But starting this photo series made me realise just how precious our photos are and how I needed to get them off my laptop and phone and on to paper. A few weeks ago I shared some mini photo books which are great for quick little albums especially for giving to friends and family. Today it’s about making forever photo books that I will hand down to Anya and hopefully one day my grandchildren (and beyond) will see it too. And there’s a special reader discount for you too.
I’ve searched high and low for the best and most beautiful photo books around and I think it has to be Artifact Uprising. Making a book from there has probably been on my to do list for two years and I finally did it. I chose the 8.5″ square format photo book because I love that shape but there is also a beautiful hardback cloth bound book that I will probably choose to make next time. I made a book documenting our life for a year from when Anya turned five. This included any holidays we took in that year and also just moments we want to remember like her Halloween costume, her 5th birthday party, her first school performance and so much more.
Artifact Uprising keep it simple and that’s why their photo books and other photo products are so stunning. I also love the matte, recycled paper they use – no shine in sight! I want my forever photo books to last forever and I know these will. These books are special and take time to make so it’s not about making them all the time but instead, just one a year. I’m feeling inspired to do something with all my important photo’s so that I can touch and hold them whenever I want. I hope today you too are inspired to get printing those beautiful memories of yours. Whatever you do, don’t leave them on that hard drive!
Artifact Uprising don’t often do sales but have offered my readers 10% off any of their photo offerings. The discount is valid for a week from today and ends on 20.05.2015. At checkout, just use the code: AUEBB10 This offer is open to readers worldwide. Enjoy!
It’s Wednesday and that means time for more photography tips. This week it’s all about styling your photos. I will start by saying I am no styling expert but over the years of writing this blog I have learned quite a lot about styling. I used to drool over the photos you find on pinterest and wonder how they did it. Then I decided to see if I could teach myself through some basic courses and practice. We all know one part of a great photo is the photography but the other part is how and where you place everything. Ordinary, everyday objects can look stunning with just a few styling tricks. As bloggers we all know how important our photo and styling skills are but also if you’re just interested in photography and want to learn a bit more about taking better looking shots, then these photo styling tips for beginners will help you create beautiful images.
1. Get inspired! Before you even touch your camera and start trying to compose images, gather lots of inspiration. You can do this online or offline but with pinterest it’s so easy to do. I have set up 5-6 different secret boards by subjects that I’m interested in learning to style like food, toys and beauty. Any styled shot that appeals to me gets added to these boards and over time I have built up quite an inspiring selection of images. The plan here isn’t to copy but to get inspired and get ideas of ways to style your shots. In addition I write notes on each pin as you can see from the snapshot of my food styling board. I write what I like about that shot or why it’s inspiring me – is it the colours or the positioning of something or an unexpected touch that brings the image to life.
2. Practice, practice, practice Once you’ve gathered some inspiration, grab your camera pick a few objects and get styling. The first few times you try, it may look nothing like you had hoped – I’ve been there! But don’t give up. As with most things, the more you practice the better you will get at it. And by practice I mean take a few household objects and put them together and photograph them. Move them around, put them on a different table, put them on the floor, on the bed, add objects, remove objects and just keep trying till you get a shot you like. This won’t happen in a day but over time you will train your eye in to learning which compositions work and which don’t.
3. Keep it simple This is key. When you are starting to develop your styling skills, keeping it simple and small helps a lot. So to start with take a vase, a jar of make-up, one toy or a book and start styling that object with a few props. If you start trying to style a whole bedroom as a beginner it will feel overwhelming. Styling entire rooms or big gatherings or anything on a big scale comes with a lot more time and practice.
4. What’s your style? Styling is all about style. As you practice, you will find that you are drawn to a particular style. This could be bright and light or dark and moody, it could be minimal, monochrome shots or shots bursting with colour. So choose your style and experiment with it. You are much more likely to produce great shots with a style you are naturally drawn to.
5. The props Don’t go out and buy props – just look around you. Regular household objects can make fantastic props. The kitchen is my favourite place to go to find props and another great source of props are Anya’s toys especially the smaller ones. Also look in your garden (or a nearby park) – leaves, twigs, flowers all make great little props to add to a photo.
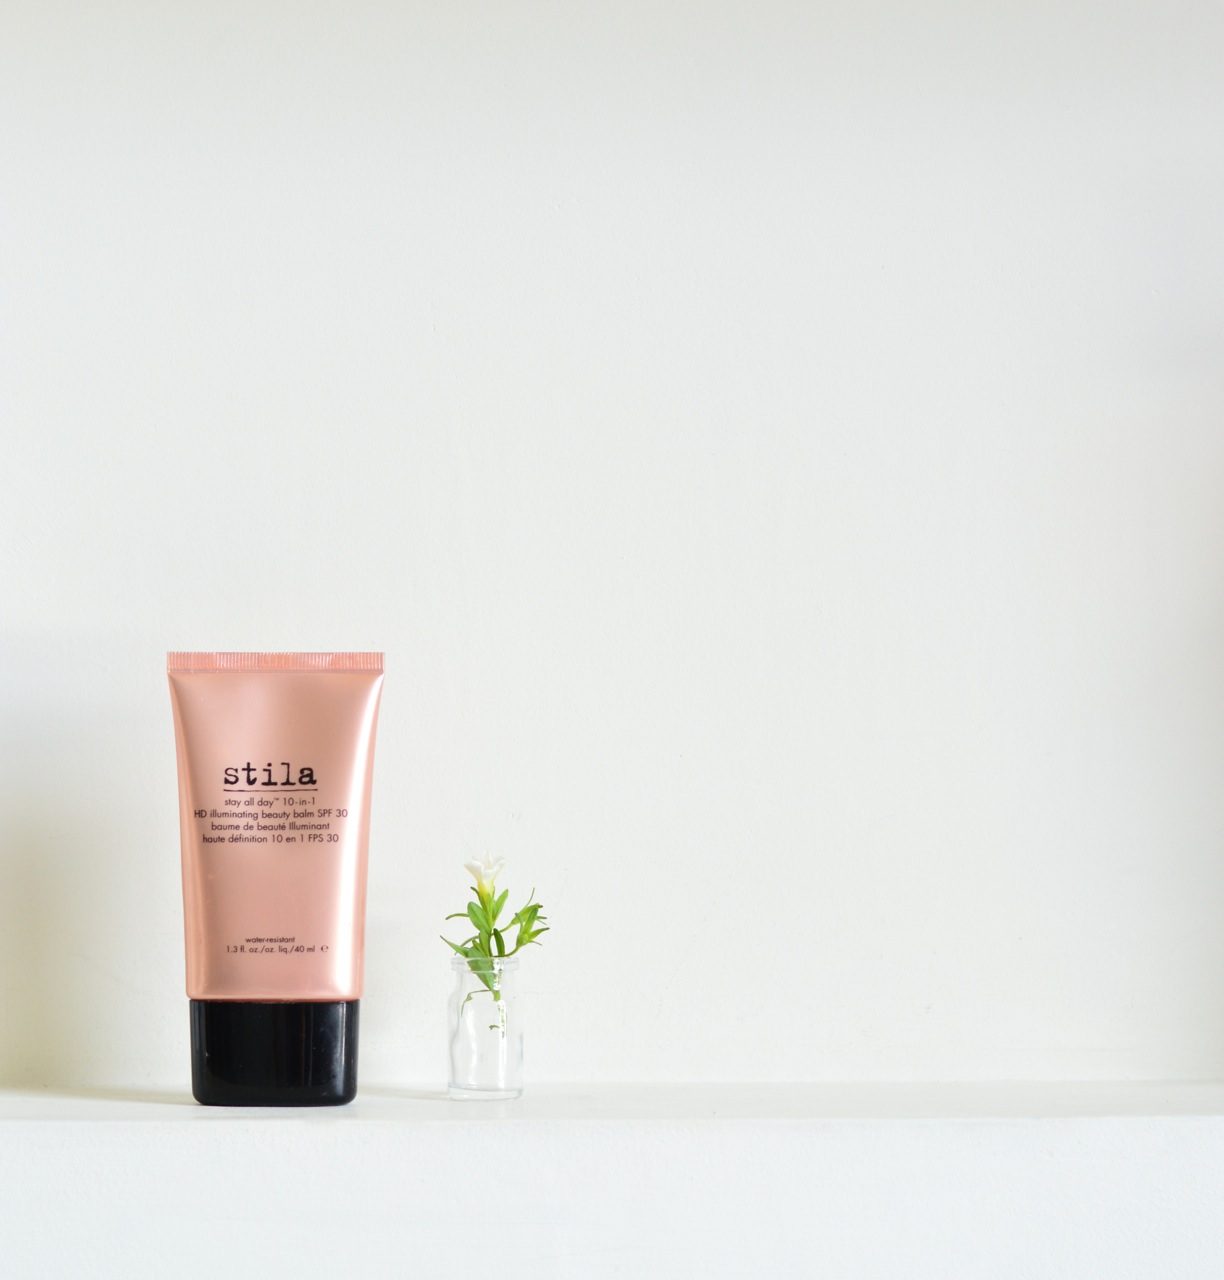
Speaking of props, if I buy something that comes in nice packaging or a nice jar, I always keep the jar once I’ve used up the product. I never go out and buy props as styling isn’t my job. Instead I collect interesting boxes, bottles, toy parts – anything that has a bit of beauty in it. For e.g. in the shot above that little glass bottle was some hair oil I bought and after using the oil I hung on to the bottle. I also went to a park next to my home and found a little flower to put in to it. The little vase just adds a bit more interest to the shot but it’s still a very simply styled shot.
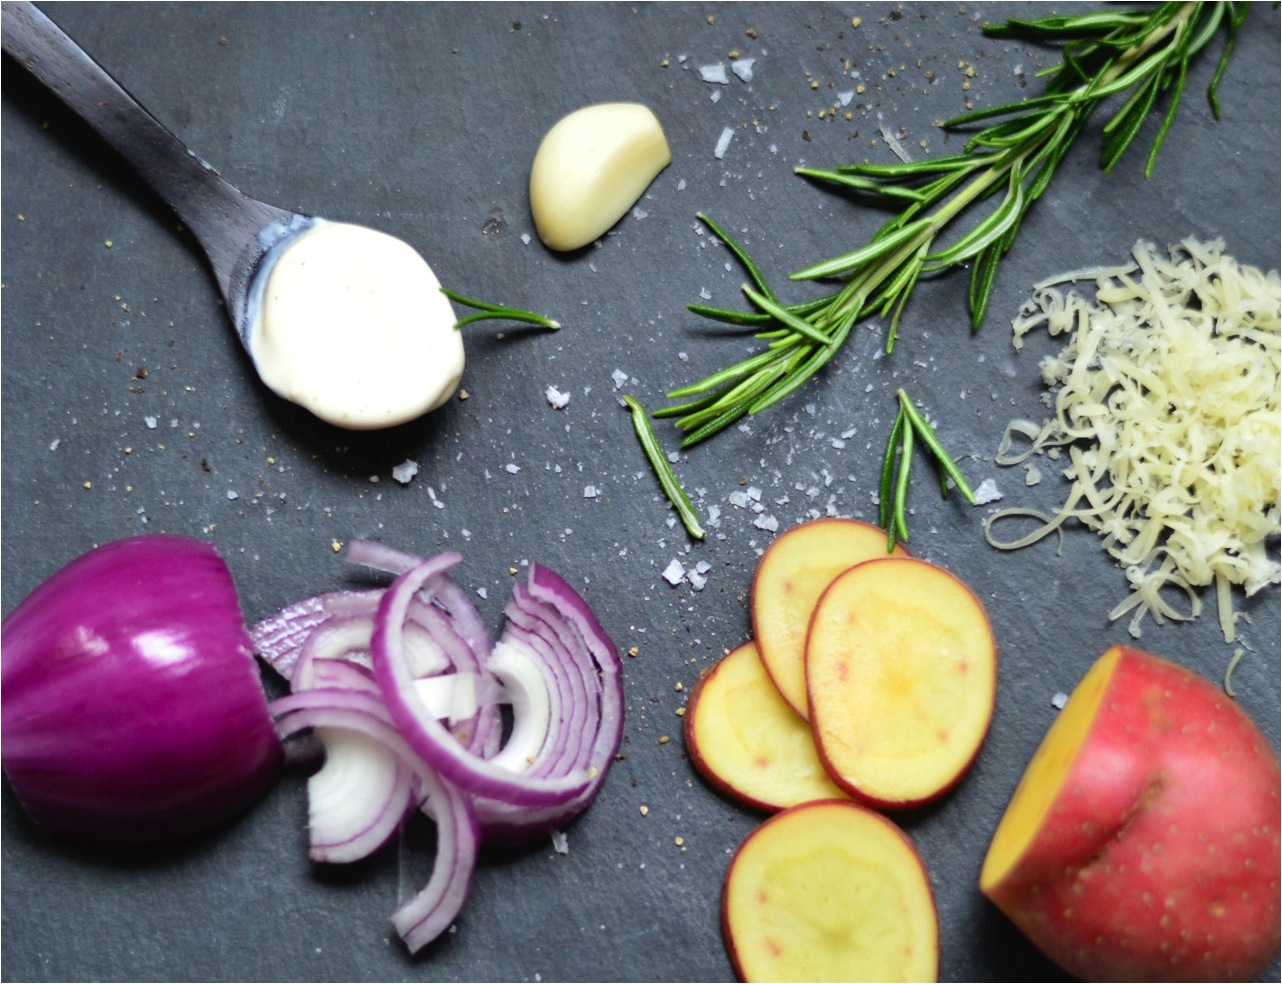
6. Backgrounds and backdrops Props are one aspect of styling a shot and another is the background. Look around your home – do you have a wall painted in a colour that would make a good background? Do you have a wallpapered wall? Do you have some interesting floor tiles? Or even some fun wrapping paper that you can use as a background? A tablecloth maybe? I use anything and everything that I can find in my home from walls to scraps of cloth that I can make a backdrop out of. I also occasionally buy some pretty tissue paper or wrapping paper if I come across something that catches my eye. Or else I just use a white wall as I love keeping my shots simple, white and bright. For e.g. In the picture above, I wanted to show some ingredients against a dark background to help them stand out. I found a piece of slate I had lying around and it made the perfect background. Don’t forget you will always crop your photo’s so the background doesn’t have to be huge.
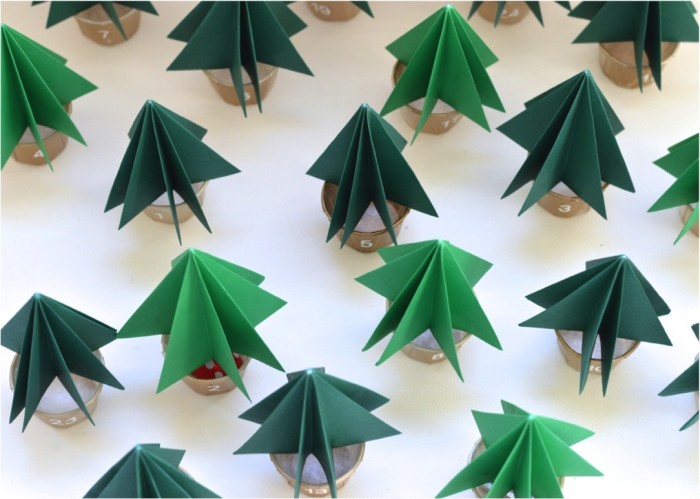
7. Play with your angles You’ve set up a shot and you keep clicking but it’s just not working. Of course you can move things around but instead try moving yourself! Photograph from above, from below, from the side, straight on, go in closer or take a step back and just keep playing with your angles. The same objects in a shot can look completely different when you change the angle just like in the example above. I didn’t move the trees at all when I took those two shots, I only moved myself and you can see how different each shot looks. The first just doesn’t work while the second is so much better as the little trees look like a forest which is the intention of the shot.
8. Just start Nobody can become an amazing photo stylist in a day or a week or even a month. And the idea isn’t to become a top stylist but just to lift your photos and make them more interesting. You will see a huge improvement in you styling skills over a period of a few months if you practice often. Remember to take your first styled shot and keep it hidden away then after six months take a look at it and compare it to your latest shot. You will see a world of difference. The secret here is to get started so why not look around you now and see what you can photograph today.
So those are my top photo styling tips for beginners. For us bloggers it’s an important skill to have but also for anyone interested in photography or anyone who just wants to take better photos. Once you learn how to style your photo’s it will become addictive and you will realise it’s not so hard to make an ok photo look amazing just by adding a little thought and effort.
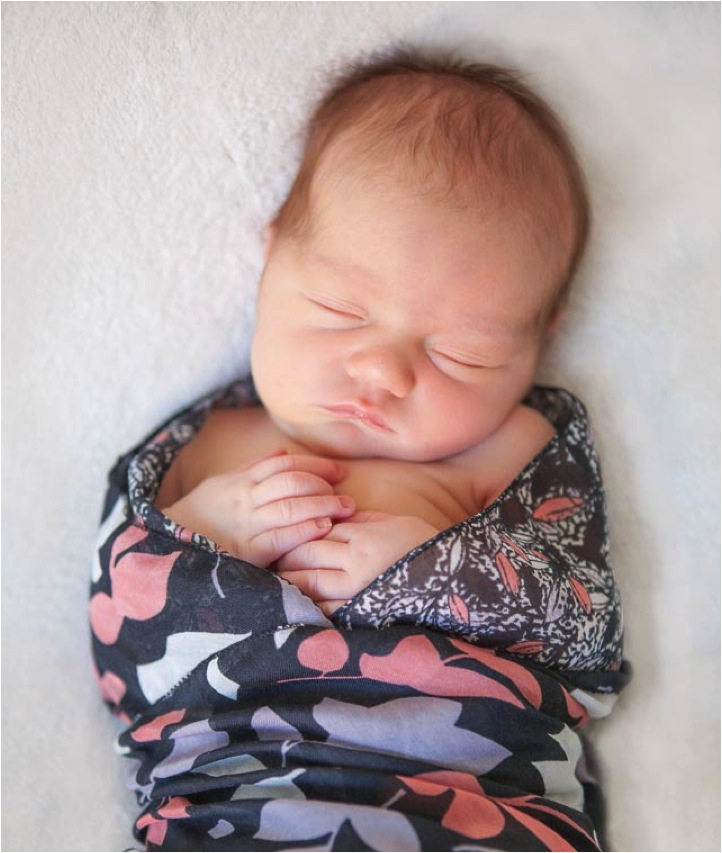
Probably the most memorable day of my life was the day I gave birth to Anya. How could it not be? And afterwards Richard and I got to take this tiny bundle home and stare at it wondering what to do next?! But as the days passed, we slowly learned to become parents as do most first time parents. The one thing we didn’t do properly though and I sincerely regret to this day is take any great newborn photo’s. In that crazy haze that is the newborn days (especially with the first baby) photo’s didn’t seem like the priority or even much of a thought for me. Thankfully Richard took some but I wish someone had told us, warned us, advised us that don’t miss capturing those precious first few days. So today, that’s what I’m doing for you – telling you that no matter how you feel, don’t forget to capture those incredible first few days of a new life. And to help you today’s photography post is on the best newborn baby photography tips for parents by Suzi Bowles – an incredibly talented photographer.
I have yet to meet Suzi in person but I already feel like I know her through our many online interactions. Suzi specialises in contemporary family photography including newborns, maternity and children. Her style is distinctive, bright and very fresh. The expressions and little details that Suzi manages to captures in newborns is second to none. She snaps those exact newborn moments that you want to remember forever and so I am very excited to have her here today telling us exactly how she does it. Now over to Suzi.
I love photographing newborns. Those euphoric first few days of a child’s life are so very unique and special. Capturing these moments to immortalise those special memories is one of my absolute favourite parts of my photography life. There are so many magical new moments to capture with the arrival of a baby but there’s nothing more frustrating than snapping away only to find that your picture is missing the very detail that you were hoping to capture. These ten tips should help you immortalize those memories of the days when your precious bundle was still tiny, fresh and very new.
1. The ‘best’ time to photograph The best time to photograph is between 6 and 10 days. In photography terms your newborn is only considered to be a newborn for the first two weeks – sounds crazy doesn’t it! But some of the reflexes that they are born with, which make them all curly and new looking, disappear after that time. Many babies develop baby acne for a while around the two week mark and they become more alert and aware of the world around them each day so achieving those classic newborn images are much more difficult after the first two weeks of life. Having said that, there’s something delightful about a curious newborn stare and capturing those little eyes looking back at you so there are still plenty of other special shots that you can get after this time.
2. Keep your camera close Keep the camera close to hand so that you don’t miss an opportunity while you’re fumbling around around trying to remember where you last left it!
3. Find the light Pay attention to the light in your home. Think about which rooms are the brightest and and which times of day they have the most light. Daylight will generally produce a much prettier image than artificial light so daytime is your friend. Turn your baby towards the light source to photograph her. Diffused, indirect light consistently produces good results so having your baby facing towards a window but not in the direct sunlight is a great option. Have her head nearer to the light than her feet as this will produce shadows that fall in a natural looking direction.
4. Keep it warm and toasty Babies inbuilt thermostats don’t work very well and they can get cold really quickly. Also they love being bundled up all warm and cosy. If you’re planning to photograph your baby au naturel, crank up the heating – a lovely toasty 28 or 29 degrees is what I recommend for my newborn sessions to keep them content while I’m shooting. The parents and I are usually peeling off our layers but baby is cozy and content.
5. Capture the details As well as photographing the big picture, don’t miss those tiny details as babies change so very quickly! Make sure you capture tiny hands, feet, eyes, nose, rose bud lips and the top of their head so that you can always remember it exactly as it was. These kind of shots of my kids still transport me right back when I look at them today; I can almost smell that newborn freshness!
6. Think about family and friends Who is visiting to meet the new arrival? Document those precious first cuddles with grandma, those story times with siblings and those evenings when your baby barely moved from your other half’s chest. And whether it’s mum or dad who is taking the lions share of the photographs, don’t forget to hand the camera over sometimes so that you exist in some of the pictures too. You will really cherish these in years to come.
7. Keep it simple and let your baby be the focus If you trawl through pinterest you’ll find a plethora of ideas for posing a newborn – dressing them up as Oscar the Grouch, covering them in lipstick kisses or putting them in a tutu. Personally I’ve found that no matter which props parents bring to their session, the most treasured images and the ones that my clients usually choose from their gallery are the simplest ones. Brand new babies are so very gorgeous as they are and props can often just distract from their fresh and captivating beauty.
8. Make your baby feel secure Sometimes a newborn’s startle reflexes can go in to overdrive as they may not be comfortable with their arms and legs being free. If your baby won’t settle while you put him down to photograph, try swaddling him as he is more likely to relax when he feels secure. A bit of white noise can also help him relax – it will drown out some of the background highs and lows and send him right back to the womb. There are a couple of great white noise apps that you can download on your phone – I like White Noise Lite on the iPhone.
9. Print your images Don’t leave those beautiful images of your newborn sitting on your phone or computer. Print them out and put them where you can enjoy them! Frame them, share them with family or have them made into a photo book like the quick and easy Pop Books that were mentioned in a previous photography article.
10. Keep that baby safe I’ve intentionally saved this point till the end because it is the most important point by far. It may seem obvious, but I’ve heard of several unfortunate incidents where proper safety precautions have not been taken. Always keep within reach of your baby. If you are taking the photograph, have someone else as a spotter to give their entire focus to your baby’s safety. Never place your baby near the edge of a surface which they could roll off or in a glass or ceramic bowl which could shatter. Always carefully check any baskets, crates or other props you use for sharp edges, snags or anything which might hurt your baby.
Some of the poses that newborn photographers create such as the baby leaning up on his elbows with his head in his hands, or hanging from a branch in a muslin hammock, aren’t what they first appear to be. Some are composites – that is, they are made by stitching together two or more images in Photoshop to create the final picture and others are shot from above with baby lying on their side to give the illusion that they are suspended in mid-air. This is absolutely vital for safety – babies necks aren’t strong enough to hold up their heads at this age, they shouldn’t be placed anywhere that there’s a possibility of them falling, and certain positions will require a hand to hold them at all times.
Thank you Suzi for these very helpful newborn baby photography tips for parents – I just wish I had these when Anya was a newborn. But you have them now so once again I say don’t miss capturing those precious first days of your babies life with these helpful tips. Suzi has also recently started photography workshops in Surrey for beginners, bloggers and intermediate photographers so if you’re interested in learning more check them out at A Happy Capture.
It’s Wednesday and that means the next dose of my photo series. We live in a time where taking photos could not be easier. We click away several times a day creating thousands of memories on our phones, cameras and other devices. On the one hand it’s quite amazing that we can photograph anything, anytime, all the time but on the other, what do you do with all those photo’s? Do you have thousands of memories sitting in one big horrible mess on your phone, on your laptop or even on your facebook? Do you spend hours trying to find photos? Do you wonder what to do with all those thousands of photo’s you’ve taken? If your answer is yes, then todays photography article on how to organise your digital photos will help you get on top of this mess. These tips are easy to follow and with a little effort you will have a very organised photo library. I’ve put these tips together based on what I do (when I’m organised!):
1. Download those photos This is the easy bit because if you’re anything like me, I can’t wait to see the photo’s I’ve taken after an event or holiday. So whenever I take photos I always download them usually on the same day or within a day or two. Never leave photo’s on your memory card as your card will eventually get full and you may not have room the next time you need to take photo’s. This could leave you furiously trying to scroll through your camera and deleting photo’s in a hurry to free up some space. And besides it’s also possible to accidently delete your entire memory card.
2. Delete, delete, delete! As soon as you download your photos, start deleting. And be ruthless. Blurry shots, duplicate shots, random photos – you know the ones I mean. And then delete some more. Only keep the shots you really love and often you’ll find that more than half can be deleted. This also helps keep more storage space free. My best advice (which I try to follow) is to delete photo’s as soon as you download them. This will make putting them in to folders a much easier job.
3. Create folders That brings me on to the next point – creating folders. It doesn’t matter what software you use or even if the photos are stored directly on your PC but creating a folder system is essential to getting your photos organised. The simplest way to do this is chronologically – by year, then month, then by the subject or occasion. The best way to stay on top of your system is to place photo’s in to folders as you download and after a while this will become a habit. But if this isn’t possible you can also set aside a little time the end of each month and spend an an hour or two dividing the photos for that month in to folders. If you do this regularly, imagine how organised your photos will be and how easy they will be to find!
None of us have photo’s just on our camera’s anymore. In fact many of us have more photo’s on our phones than anywhere else. We definitely don’t want to forget these so do the same with these – download to your computer (or wherever you store your photos) monthly or weekly (depending on how many you take), delete unwanted ones and put in to folders with the rest of that months photo’s.
4. Mark your favourites I’ve recently started flagging my favourite photos in each set of photos that I download. This is easily doable in many photo management tools like apple iphoto or windows live photo gallery. This has helped me so much especially when I take photo’s for my blog. Before I’d trawl through 100 or more photo’s to choose the best two or three and then forget which ones I liked so I’d keep going back and forth and wasting far too much time. Now when I download them, I immediately delete the hopeless ones and flag the best. This will also help a lot if later you decide you want to print some or make a photobook – no more spending hours choosing.
5. Storage If you take a lot of photo’s then keeping these on your laptop can start eating away at your computers storage. So instead you could use an external photo storage site like flickr. There are many such sites that are free to use so it’s just a question of finding the right one for you – here’s a list that will help.
6. Print them! Seriously, how often do you print your photo’s? I am really bad at this but since starting this photography series I’ve realised that there is no point learning to take fab photos only to have them sitting on a hard drive somewhere. It’s so much nicer to hold a book or album and flick through the pages than it is to stare at a screen. With all the easy printing options available, there really is no excuse not to print photos. And once you’ve spent a bit of time organising your digital photos, choosing ones to print should be easy.
Some ideas on printing – You could print a yearly photobook. I did this when Anya turned one showing the first year of her life and it is such a wonderful memory. I did it again when she turned two but since have given up but plan to re-start. Another idea is to make mini little photobooks of instagram photos or phone photo’s that can literally be done in minutes. Yet another idea is to make real prints and create a gallery wall in your home. You could refresh these every couple of years and older ones can go in to an album. There are so many easy and quick ways to get real copies of your photo’s and once you start, you’ll love the physical memories you are creating and memories that can be handed down for generations to come.
7. Don’t feel overwhelmed If you have done nothing to organise your photo’s over the years and have thousands upon thousands stored on your laptop and phone, don’t panic! It’s so easy to feel overwhelmed and not know where to start. You can either start with your latest photos and work backwards or the other way around but most importantly, start with bite sized chunks. So consider tackling a months worth of photo’s each week and slowly you will start to see your digital photo library looking very organised.
8. Back it up You knew this was coming, you know you should do it but are you doing it? Even if you end up doing nothing else to organise your digital photos, at the very least you need to back them up. I use an external hard drive that I plug in to my laptop around once a month and job done! But there are so many ways to create back-ups, the important thing is to do it – not say you will do it, not plan to do it but do it today! Here is a simple article that lists some photo back-up options.
So that’s how I like to keep my photo’s organised. It’s a shame to have so many gorgeous memories lying in a huge mess somewhere. With my tips on how to organise your digital photos and a little consistent effort, you will have the most organised photo library ever. And once you get in the habit of doing this, you will save so much time because you won’t ever have to look through thousands of pics to find the one you want. And don’t forget to print and back-up those amazing memories.
With the recent sunny spell we’ve been enjoying, it’s time to think sun screens and sun creams. I recently came across Kiehl’s Ultra Light Daily UV Defense cream and I love it so much that I thought I would share it here. I’ve always said that while I’m no beauty product junkie, if I come across something fab, time saving or useful for us mums then I would let you know about it.
We all know that sunscreens shouldn’t only be used on sunny days but should be used everyday of the year, at least on our faces. They are the best thing you can do to protect your skin from the elements and protect against premature aging but I have to say that I have been guilty of using it only in the warmer months even though I know otherwise. The only reason was that all the face sunscreens I had previously used were heavy, greasy and so, so sticky. Also they always left white streaks and I ended up with sticky hands too after applying it. And with this heavy, sticky texture it wasn’t the ideal base for make-up. But now that I’ve discovered this Kiehl’s ultra light cream all those problems are no more. This cream is indeed very light but amazingly still has a very high SPF of 50, it is not even slightly sticky or greasy and there is not a white streak in sight. It literally glides on to your skin and it lightly moisturises while protecting from sun damage. And putting on make-up over it is no problem either. It’s not the cheapest cream around but a little goes a long way and I have not found anything else that comes close in texture with such a high SPF too. So I will happily say that this is the best sunscreen for the face that I have ever come across.
This Kiehl’s sunscreen is suitable for all skin types including sensitive skin so anybody can use it. Now that I’ve discovered it, I can’t do without it – a quick application of this cream followed by some light make-up and I’m ready to face the day. And I know with this cream I will use it to protect my face everyday – come rain or shine! Do you have a favourite face sunscreen? Do let me know in the comments.
Ebabee Likes is a style guide for babies, kids, teens and their mamas. It’s all about inspiration, ideas and indulging yourself and your brood. It’s written by me ~ Nomita ~ a style loving girl from Mumbai who now live’s in London. Read More...